
Here's a quick cheat sheet for changing your account settings depending on your device and private your X account:
| Platform | Steps to Make Account Private |
|---|---|
| iOS | Profile icon > Settings and privacy > Privacy and safety > Audience and tagging > Protect your posts |
| Android | Profile icon > Settings & Support > Settings and privacy > Privacy and safety > Audience and tagging > Protect your posts |
| Browser | More > Settings and privacy > Privacy and safety > Audience, media and tagging > Protect your posts |
When you post on Twitter, by default, your tweets are open for the world to see. While that can be great for growing your audience or sharing ideas, sometimes you just want a little more control.
That’s where locking your Twitter account — making it private — comes in. If you've been thinking about keeping your tweets visible only to your approved followers, you're not alone.
Here's everything you need to know about private Twitter accounts, why people choose to lock their profiles, and how to make your Twitter account private yourself:

Why People Make Their Twitter Accounts Private
There are plenty of good reasons to make your Twitter account private. Some of the most common include:
✴️ Control over who sees your posts: Only approved followers can view your tweets.
✴️ Avoiding harassment or spam: A private account limits exposure to trolls, bots, and spam accounts.
✴️ Protecting personal information: If you often share personal experiences or opinions, a private account keeps it within your chosen circle.
✴️ Maintaining a small community: Some users prefer engaging only with a trusted, smaller group rather than the general public.
Benefits of a Private Twitter Account
Locking your account brings several advantages:
✅ Greater privacy: Your tweets are no longer visible to non-followers or the general public.
✅ Follower approval: New people must request permission to follow you.
✅ Protected content: Retweets and shares are limited to your approved followers only.
✅ A safer environment: You can interact with a more familiar and respectful audience.
How to Make Your Twitter Account Private
Changing your Twitter account settings is simple but slightly different depending on whether you're on a computer or using the app.
Here’s a step-by-step guide:
On Desktop (Browser)
- Click the More button (three dots) in the left-hand menu.
- Select Settings and privacy.
- Click on Privacy and safety.
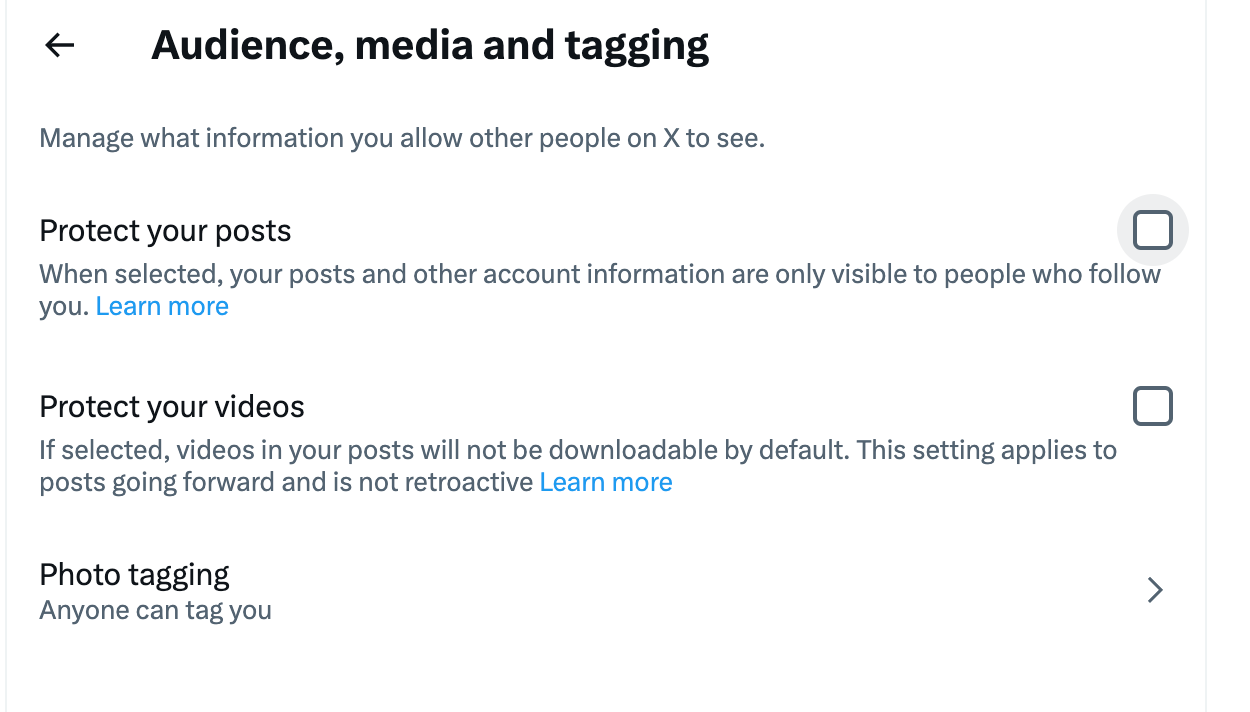
- Go to Audience, media and tagging.
- Toggle on Protect your posts to lock your account.
On the Mobile App (iOS)
- Tap your Profile icon at the top left.
- Tap Settings and privacy.
- Select Privacy and safety.
- Choose Audience and tagging.
- Turn on Protect your posts.
On the Mobile App (Android)
- Tap your Profile icon.
- Tap Settings & Support and then open Settings and privacy.
- Go to Privacy and safety.
- Tap Audience and tagging.
- Toggle on Protect your posts.
Important Things to Keep in Mind
Before you switch to a private account, here are a few things to remember:
➡️ Old followers can still see your tweets: If someone followed you before you locked your account, they can still view your tweets unless you remove them.
➡️ Manual approval is required: Every new follow request must be manually approved.
➡️ Limits on sharing: Your tweets can’t be retweeted by users who aren’t approved followers.
➡️ Searchability: Your tweets will no longer appear in public Twitter searches or on Google.
Bonus: How to Manage Your Following List Privately
If you want more control over who can see the accounts you follow, there’s an additional trick: using Twitter’s private lists.
By creating a private list of users you follow and unfollowing them publicly, you can still view their content while ensuring your public following list stays hidden. This method allows you to maintain a curated timeline without revealing your connections.
Managing private Twitter lists manually can be tedious, but Circleboom Twitter’s Twitter List Manager makes it effortless.

Here’s how to use it:
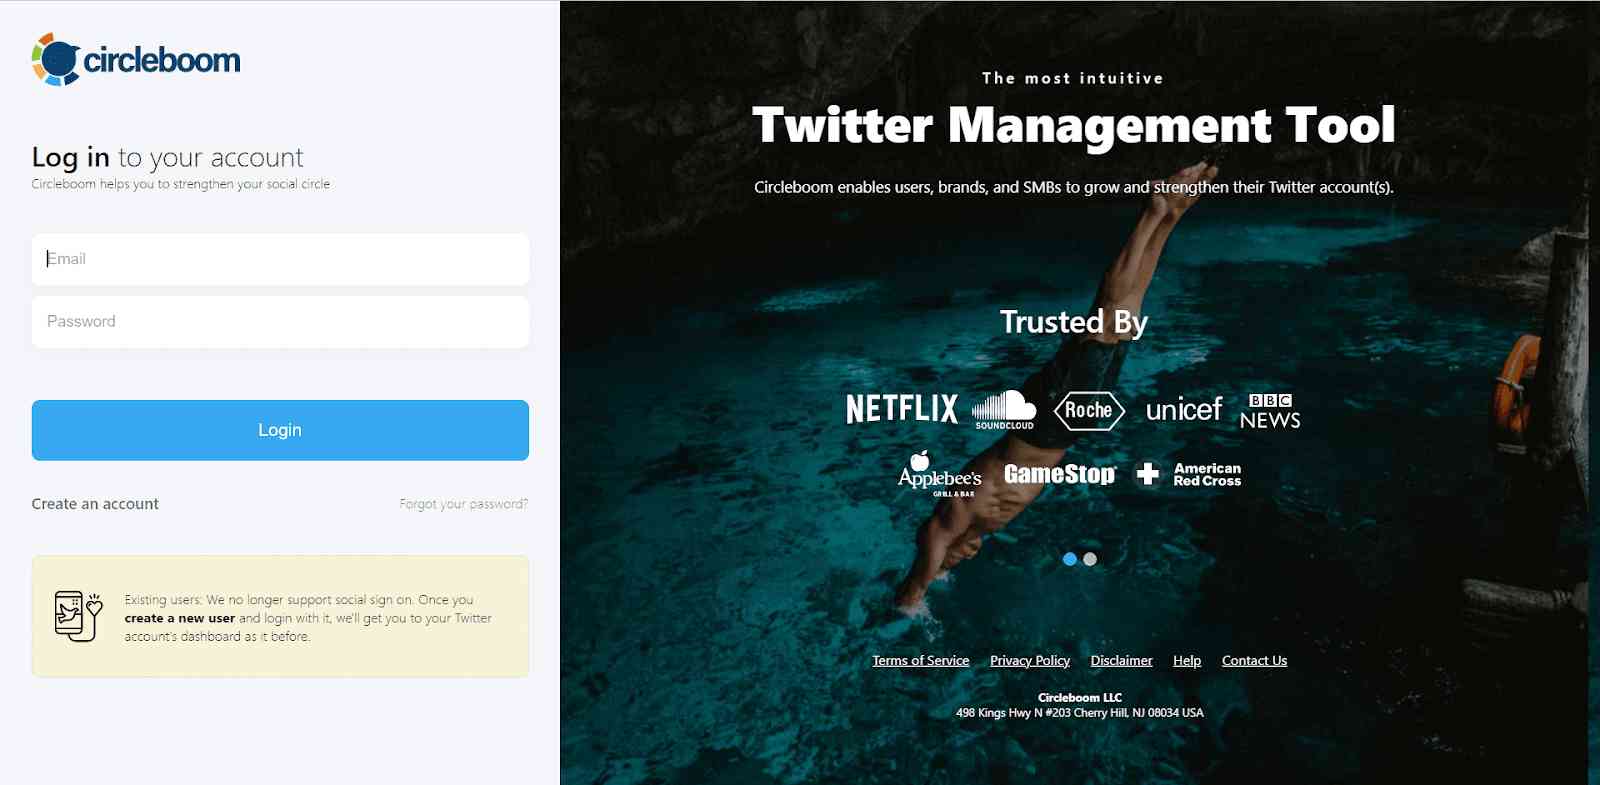
Step #1: Log in to your Circleboom Twitter account.
If you don't have a Circleboom account, you can create one in seconds to manage your Twitter with the excellent features of Circleboom Twitter.
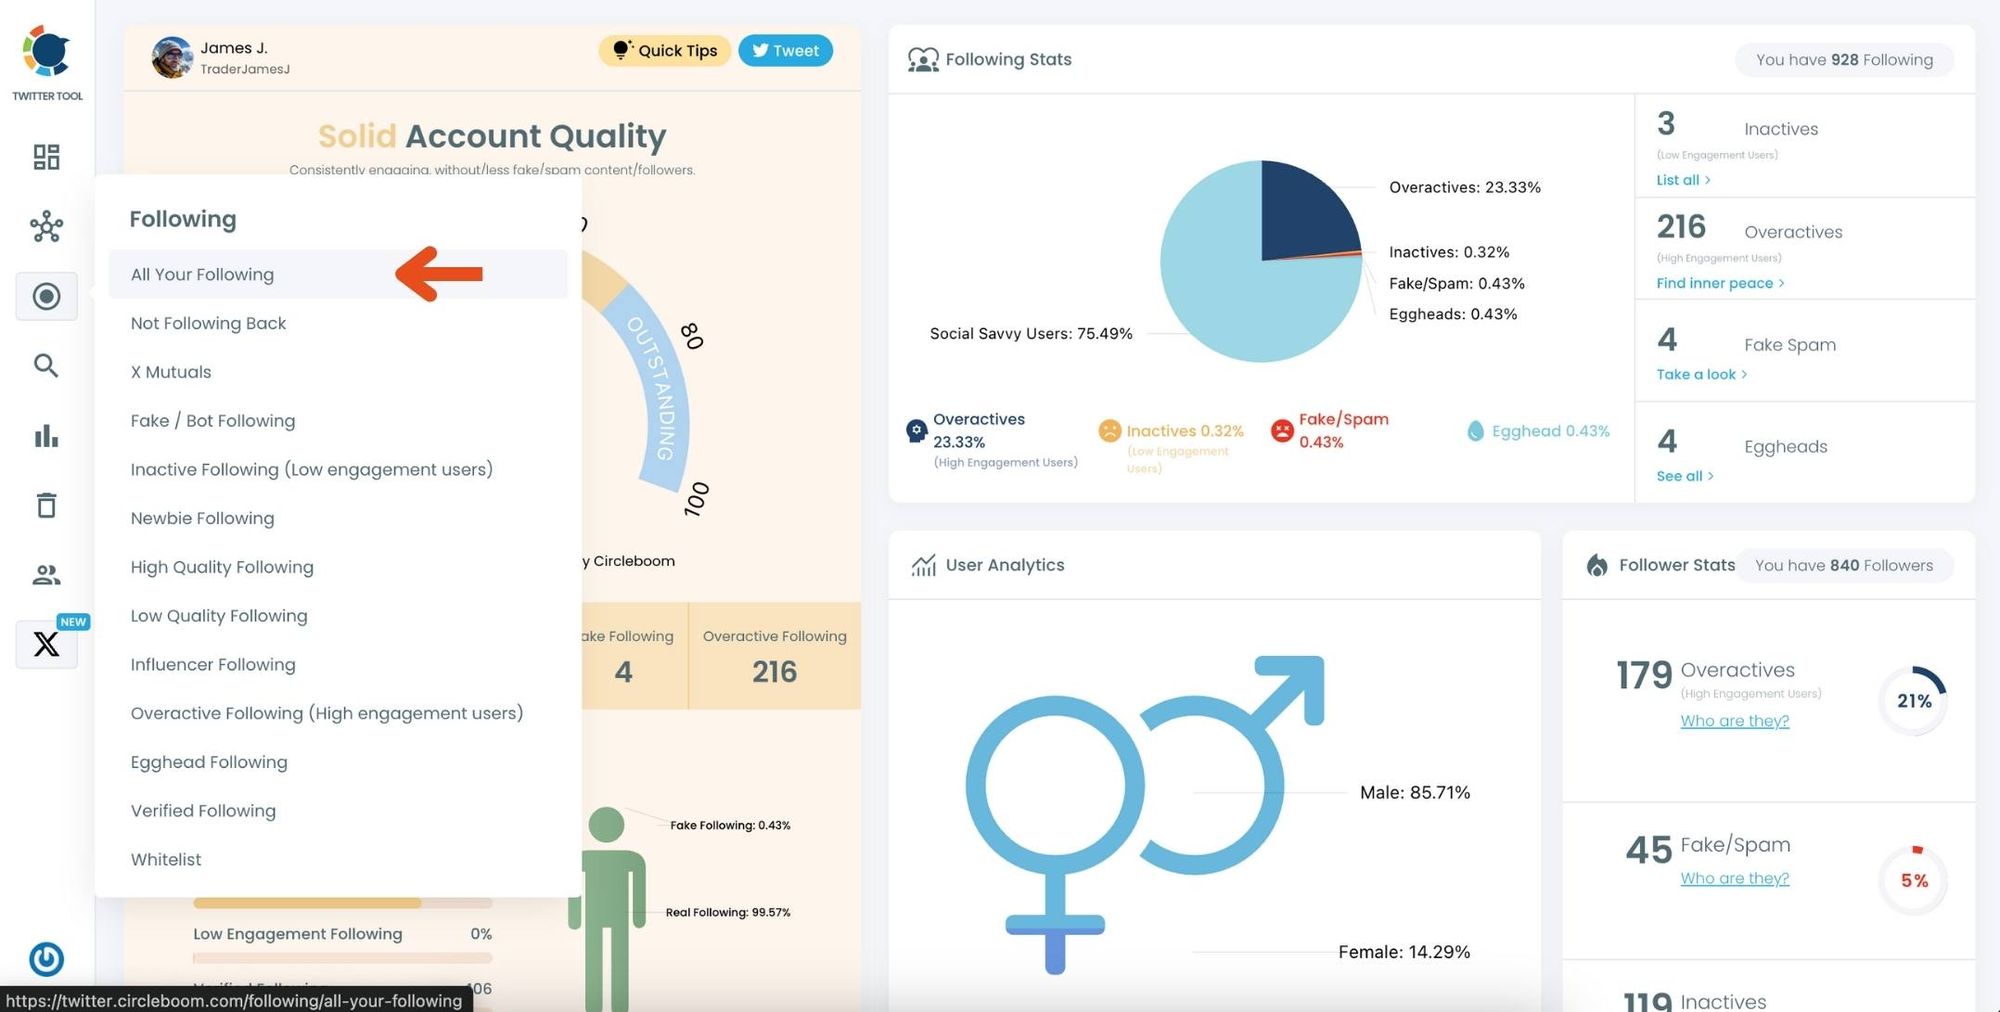
Step #2: Navigate to the left menu and find "Following" there.
Then you should click on "All Your Following". Circleboom will list all your Twitter friends.
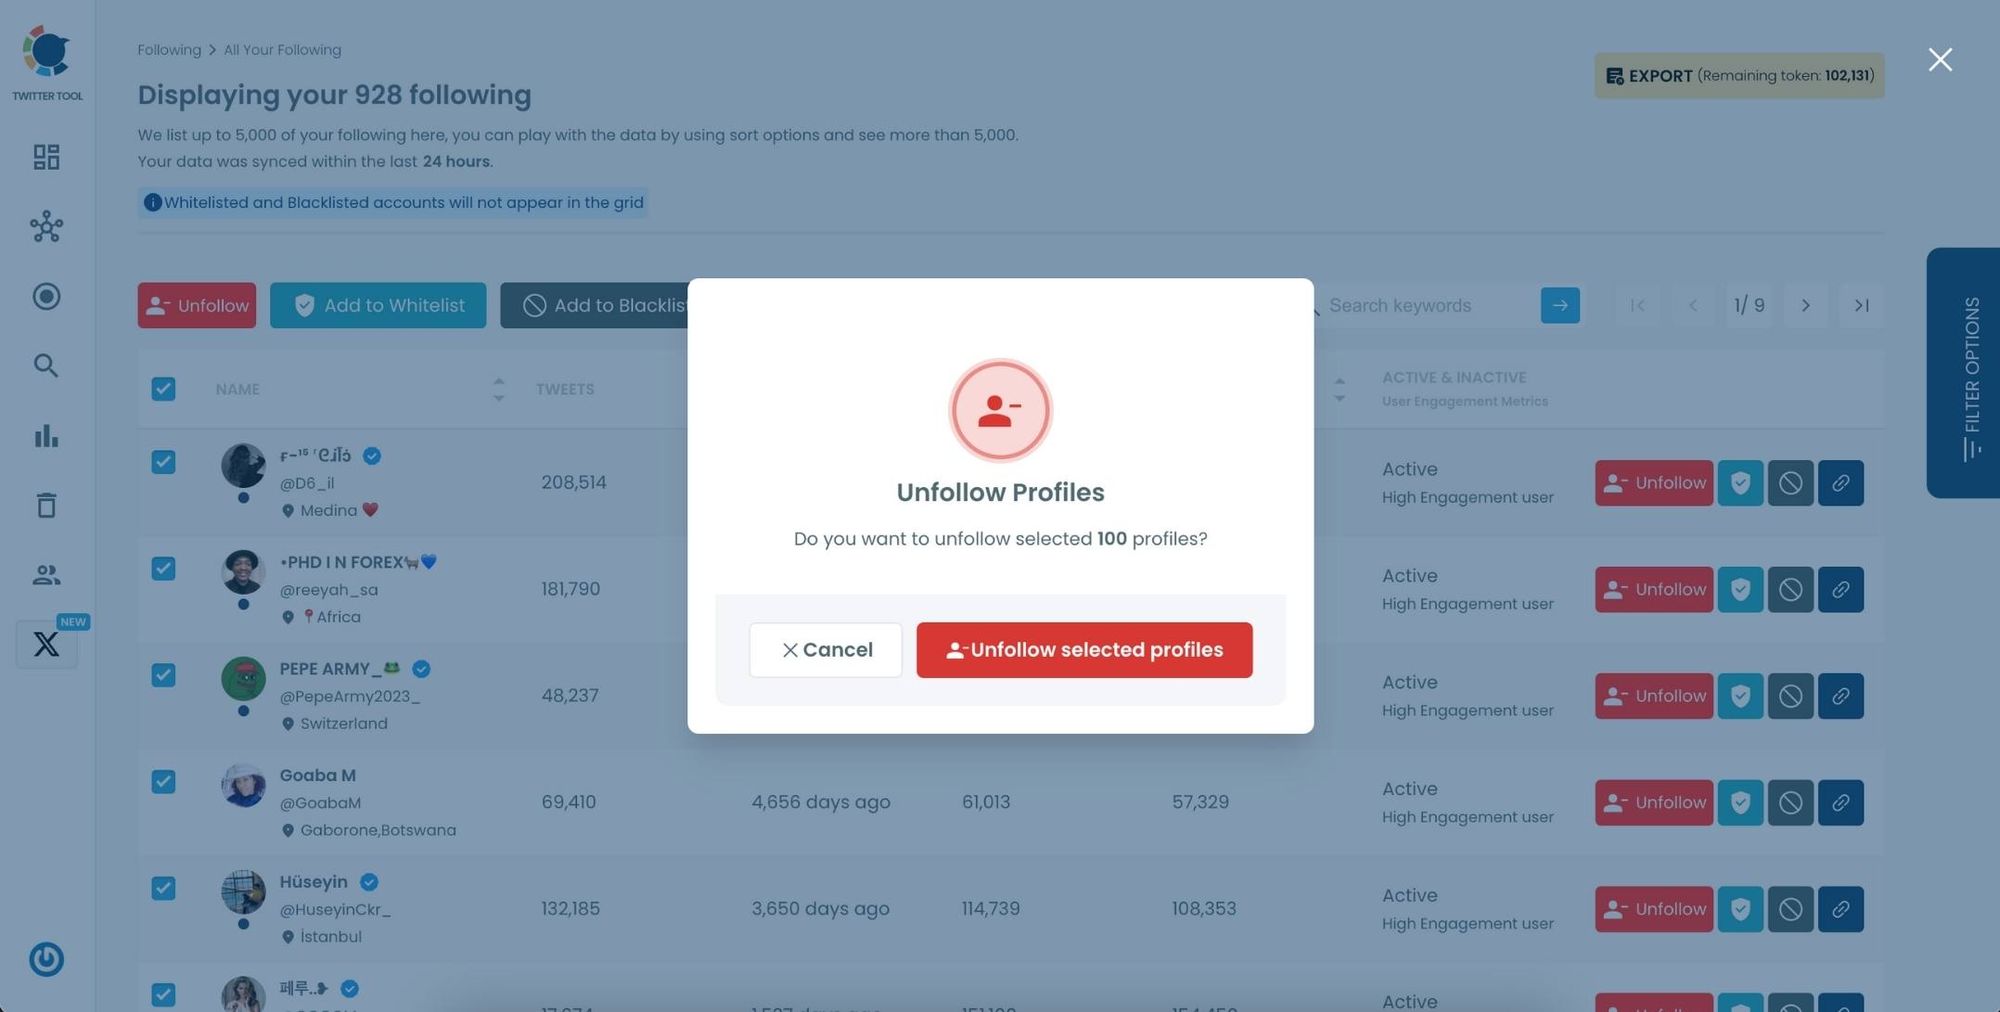
Step #3: Here is the list of your following. You can select all of them or some.
Once you select them, you can click on the "Add to Twitterlist" button ( blue one ). You can create a new Twitter list or add them in bulk to an existing list.

Create a new Twitter list or add your following to an existing list.
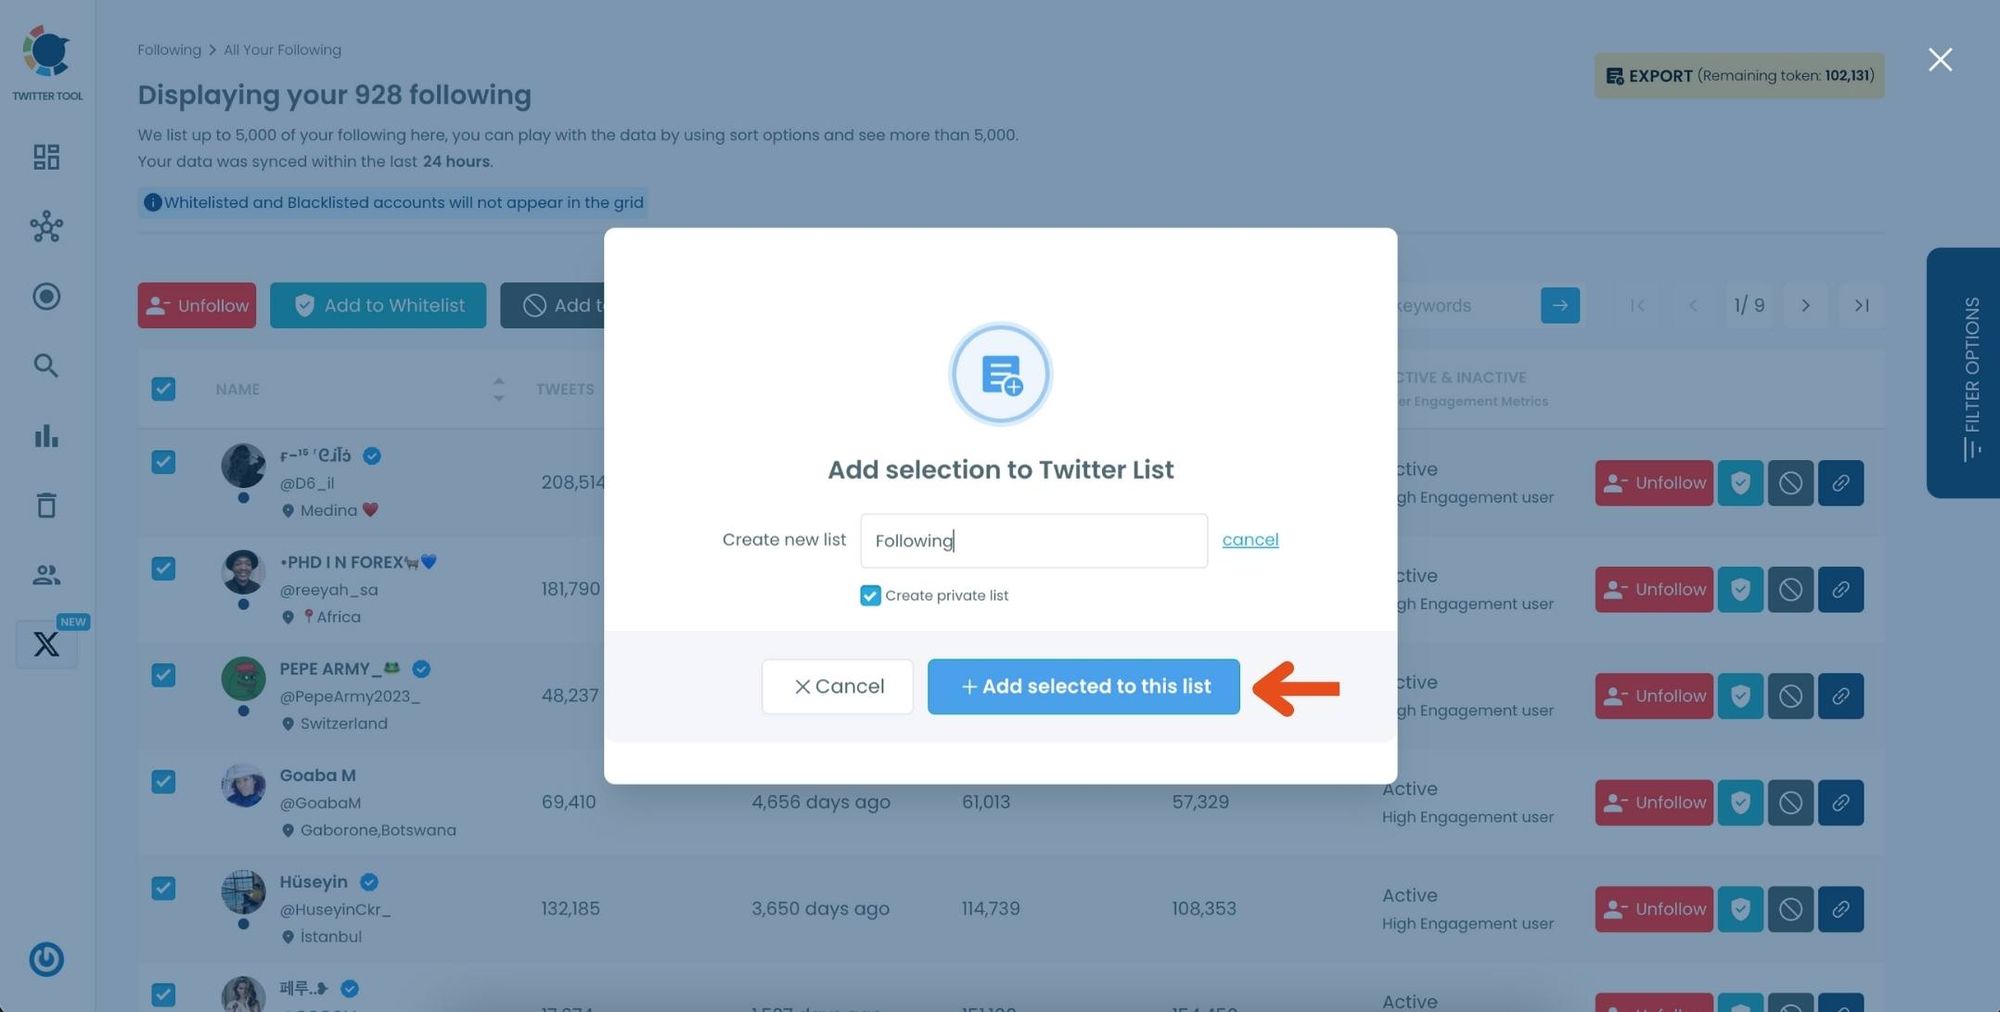
Now all your following are on the new private list.
The next step is unfollowing them.
Step #4: By clicking to red Unfollow button, you can unfollow all the followings.
Final Thoughts
Making your Twitter account private is a simple yet powerful way to take control of your online presence. Whether you want to create a safer space for expression, keep your updates within a smaller circle, or just avoid unwanted attention, locking your account gives you that freedom.
And the best part? You can switch between public and private anytime — whatever fits your needs.